How To Add A Subscriber With The Mailchimp API & Google Apps Script
 Updated: November 15, 2021
 I recently built a Google Apps Script Web App to allow people to ask me questions about Google Sheets (check it out here).
As part of that web app I wanted people who submit questions to be subscribed to my Mailchimp email list.
Here's how I made that happen with only a few lines of Apps Script.
This guide was written based on v3 of the Mailchimp Marketing API.
Mailchimp API Documentation
If you Google something like, 'add subscriber mailchimp api' it's going to take you to the relevant section of the Mailchimp API documentation - 'Add member to list'.
On this page, Mailchimp provides a lot of detail about parameters and responses but the code samples don't translate well to Apps Script and there's a couple of peculiarities that took me some time to understand.
Lucky for you, I'm going to help out with that.


FREE RESOURCE
Google Sheets Cheat Sheet
12 exclusive tips to make user-friendly sheets from today:
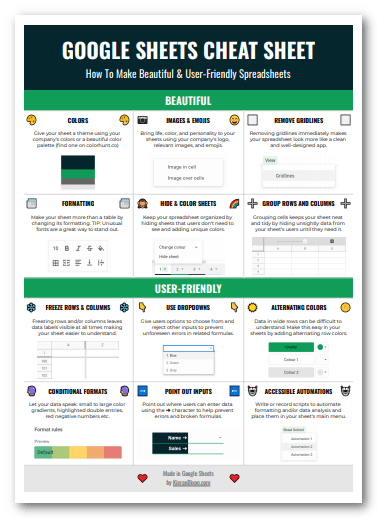
You'll get updates from me with an easy-to-find "unsubscribe" link.
Required Mailchimp Account Details
To connect to your account using the API you need three things:
- An API key
- Your server prefix
- Your list's ID
Here's where to find each of them when you're logged in to Mailchimp.
Mailchimp API Key
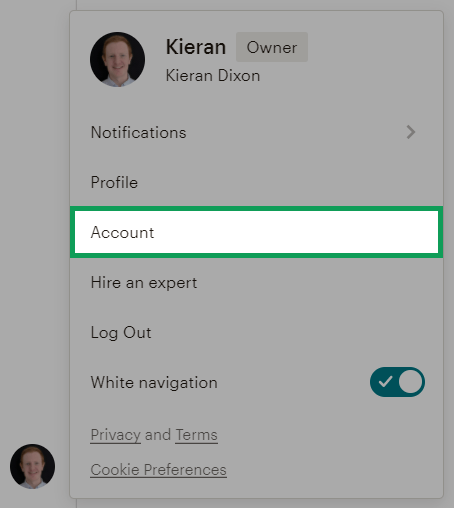
Go to your Account page by clicking on your profile in the bottom left hand corner and selecting 'Account' from the menu that appears:
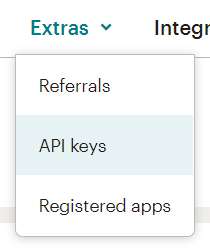
From your Account page select 'API keys' from the 'Extras' dropdown:
Scroll down to the API key table and, if you don't already have one, click on 'Create A Key':
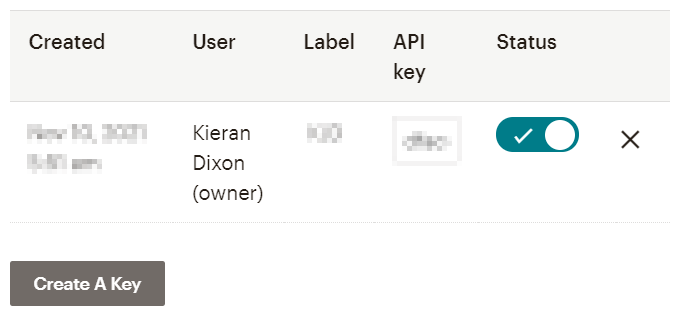
Copy the text in the 'API key' box in the relevant row of the table - you're going to need it.
Never let anyone know your API keys. With them, people can get information from your account and make unwanted changes.
Mailchimp Server Prefix
Your API key will look like this:
xxxxxxxxxxxxxxxxxxxxxxxxxxxxxxxx-us#
But with random characters instead of the x's.
The 'us#' is your server prefix.
Because you're including your API key in your code, you can use some Apps Script to extract the server prefix without having to type it yourself.
Mailchimp List ID
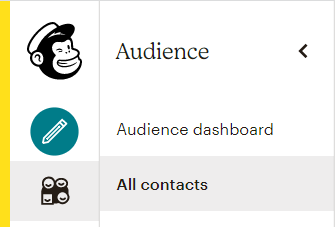
Go to 'Audience' and 'All contacts' in the sidebar:
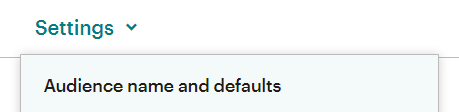
Then select 'Audience name and defaults' from the 'Settings' dropdown:
And copy the 'Audience ID' (blurred below):
Connecting To The Mailchimp API using Google Apps Script
Here's the code I wrote to add subscribers to my mailing list:
function addSubscriber(firstName, lastName, emailAddress) {

  //Mailchimp details
  const apiKey = 'xxxxxxxxxxxxxxxxxxxxxxxxxxxxxxxx-us#';
  const serverPrefix = apiKey.split('-')[1];
  const listID = 'xxxxxxxxxx';

  //ISO formatted date
  const date = new Date();
  const dateString = date.toISOString();
  const formattedDateString = dateString.replace('T', ' ').slice(0, dateString.indexOf('.'));

  //Payload/body
  const payload = {
    'email_address': emailAddress,
    'status': 'pending',
    'merge_fields': {
      'FNAME': firstName,
      'LNAME': lastName,
    },
    'timestamp_signup': formattedDateString,
    'tags': ['your tag'],
  };

  //API URL and endpoint
  const url = `https://${serverPrefix}.api.mailchimp.com/3.0/lists/${listID}/members`;

  //Parameters for API call
  const params = {
    'method': 'POST',
    'muteHttpExceptions': true,
    'headers': {
      'Authorization': `apikey ${apiKey}`,
    },
    'payload': JSON.stringify(payload),
  };

  //API call
  UrlFetchApp.fetch(url, params);

}
Now let's take a look at each part of the code:
Subscriber Details
The details of the subscriber being added are passed to the addSubscriber function when it is called from another function, potentially over and over again to add multiple subscribers:
addSubscriber('Jim', 'Halpert', 'jim.halpert@dundermifflin.com');
This is the same as having the following within the addSubscriber function:
//Subscriber details
firstName = 'Jim';
lastName = 'Halpert';
emailAddress = 'jim.halpert@dundermifflin.com';
Mailchimp Details
Here are the required Mailchimp details:
//Mailchimp details
const apiKey = 'xxxxxxxxxxxxxxxxxxxxxxxxxxxxxxxx-us#';
const serverPrefix = apiKey.split('-')[1];
const listID = 'xxxxxxxxxx';
As mentioned above, the serverPrefix is isolated as the text after the dash in the apiKey.
Payload Details
From the body parameters section of the documentation you know that to make a successful call to this endpoint you need the:
- list_id to put in the fetched URL (which you found above)
- email_address of the person to be subscribed
- status you want to assign this new subscriber
Although that's all that's required I'm going to show you how to include a few extra details including:
- some merge_fields
- the timestamp_signup, and
- some tags
Let's get stuck in.
Date In ISO 8601 Format
Now the date for the timestamp_signup body parameter:
//ISO formatted date
const date = new Date();
const dateString = date.toISOString();
const formattedDateString = dateString.replace('T', ' ').slice(0, dateString.indexOf('.'));
The documentation states that this parameter requires 'the date and time in ISO 8601 format'. However, just using date.toISOString() doesn't work for this API.
date.toISOString() gets you something like: '2021-11-14T23:05:54.414Z'.
This is a date-time formatted as 'yyyy-mm-ddThh:mm:ss.sssZ'.
What it doesn't say in the documentation is that really the API wants the string formatted like this: 'yyyy-mm-dd hh:mm:ss'.
That's a space instead of the T and no fractions of a second or timezone.
This is why you need the extra step of creating a formattedDateString variable.
The Rest
const payload = {
  'email_address': emailAddress,
  'status': 'pending',
  'merge_fields': {
    'FNAME': firstName,
    'LNAME': lastName,
  },
  'timestamp_signup': formattedDateString,
  'tags': ['your tag'],
};
There's a few interesting details here:
- The first and last name must be in a 'merge_fields' object.
- The status can be a few things, mainly 'subscribed' or 'pending'. I chose 'pending' because this means that the person will receive my new subscriber email sequence (but only after they confirm their subscription). If you simply set the status to 'subscribed', they will not have to confirm their subscription but will not receive the welcome sequence.
- The 'tags' must be an array of strings.
URL & Parameters
Lastly let's look at the URL to fetch and the parameters to accompany them:
const url = `https://${serverPrefix}.api.mailchimp.com/3.0/lists/${listID}/members`;

const params = {
  'method': 'POST',
  'muteHttpExceptions': true,
  'headers': {
    'Authorization': `apikey ${apiKey}`,
  },
  'payload': JSON.stringify(payload),
};
Important things to remember:
- The 'method' is 'POST'.
- The format of the 'Authorization' string (`apikey xxxxxxxxxxxxxxxxxxxxxxxxxxxxxxxx-us#`)
- The body key is 'payload' and it must be stringified.
API Call
With all of that taken care of, make the API call using the UrlFetchApp:
UrlFetchApp.fetch(url, params);
Et voila, it works:

You should be checking that the URL fetch works and handling errors that might occur (e.g. if the subscriber is already on the list) but I'll leave that up to you!
FREE RESOURCE
Google Sheets Cheat Sheet
12 exclusive tips to make user-friendly sheets from today:
You'll get updates from me with an easy-to-find "unsubscribe" link.